Whenever we run out of storage space on our Windows 11 PC, we feel quite frustrated and it is completely valid to feel this way. Having a low disk space on our PC not only frustrates us but internally impacts the performance of our overall PC. it also prevents the installation of new programs. Whenever this issue occurs on our PC, we generally delete files from our system.
But, do you know your Windows 11 comes with an in-built feature named Storage sense that helps us in managing the disk storage in a more effective manner? It is an automated tool that works internally and keeps on freeing up storage space. Storage sense is one of the effective and silent system utility features that make your PC better. But, if you are not able to make the most of storage sense, you can take the help of the Best PC Cleaner and Optimization tools. In this blog, we will be exploring how to use storage sense on Windows 11. So, let’s get started.
What is Storage Sense?
Storage sense is not a new feature and this feature has been designed for a long time. It is an in-built tool that is developed to automatically remove the temporary system, junk files, app files, and other types of unnecessary files. Moreover, it also finds and removes files available in the Download folder that are no longer in use. The best part is that it helps convert files that are stored in the Drive to online-only files or folders so that additional space can be cleared up from the Windows 11 PC. This tool helps in managing storage space on our Windows 11 PC effectively. Moreover, this effective tool can also be synced with local cloud storage related to the OneDrive account. It is always the best idea to set up this tool, it also helps in customizing the rules so that users can define how they actually want to store or remove unnecessary files or folders. If you have not set up the storage sense on your Windows PC, don’t worry, in the next section, we will be learning to set up storage sense on Windows 11.
How to set up Storage Sense Tool on your Windows 11 PC?
Storage sense is a tool built to manage disk space smartly and effectively. But, users will have to configure or set the storage sense on their respective PCs to make the most out of them. Follow the below-mentioned step-by-step guide to set up the storage sense tool on your Windows 11:
- Go to Start Menu.
- Now go to Settings.
- From, the Settings option, choose the Best Match option.
- Now, go to System and select the Storage tab for beginning the process.
- Now, under the Storage Management option, you will be able to find the Storage Sense button. You will have to enable it for setting it up on your Windows 11 PC.
- After selecting or enabling it, you can set up customized settings or rules for managing your storage or disk space. Users can also choose the timeline for running Windows Storage Sense and additionally users can also choose how they want to delete files from the Downloads folder or Recycle Bin.
- After customizing all the requirements of running your Storage Sense on Windows 11, you can finally hit the “Run Storage Sense Now” button for checking how effectively it works on a Windows PC.
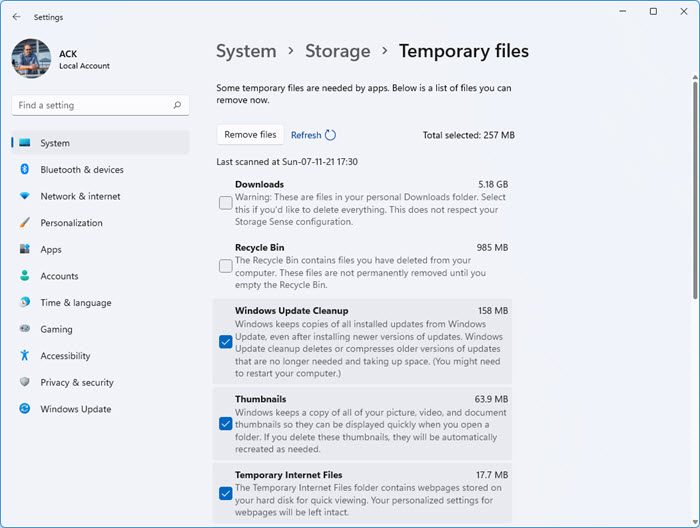
How to keep Windows 11 Clean with Storage Sense?
It is really important to learn how many times your PC requires running a Storage Sense on your Windows 11. It is also very important to carefully and efficiently run this tool on your Windows PC. Additionally, please note that temp files, Windows update files, and other types of file takes up a lot of storage space on your Windows PC, therefore, it is always important to get rid of them to keep your PC optimized and speedy.
I hope this blog helps you with understanding how to use storage sense on Windows 11. Moreover, you can also take the help of a PC Cleaner and Optimization tool like Advanced System Optimizer to keep your PC optimized, speedy, and clean.
Thanks for reading!